Setting up Jupyter using Conda in WSL2
Published:
 |
|---|
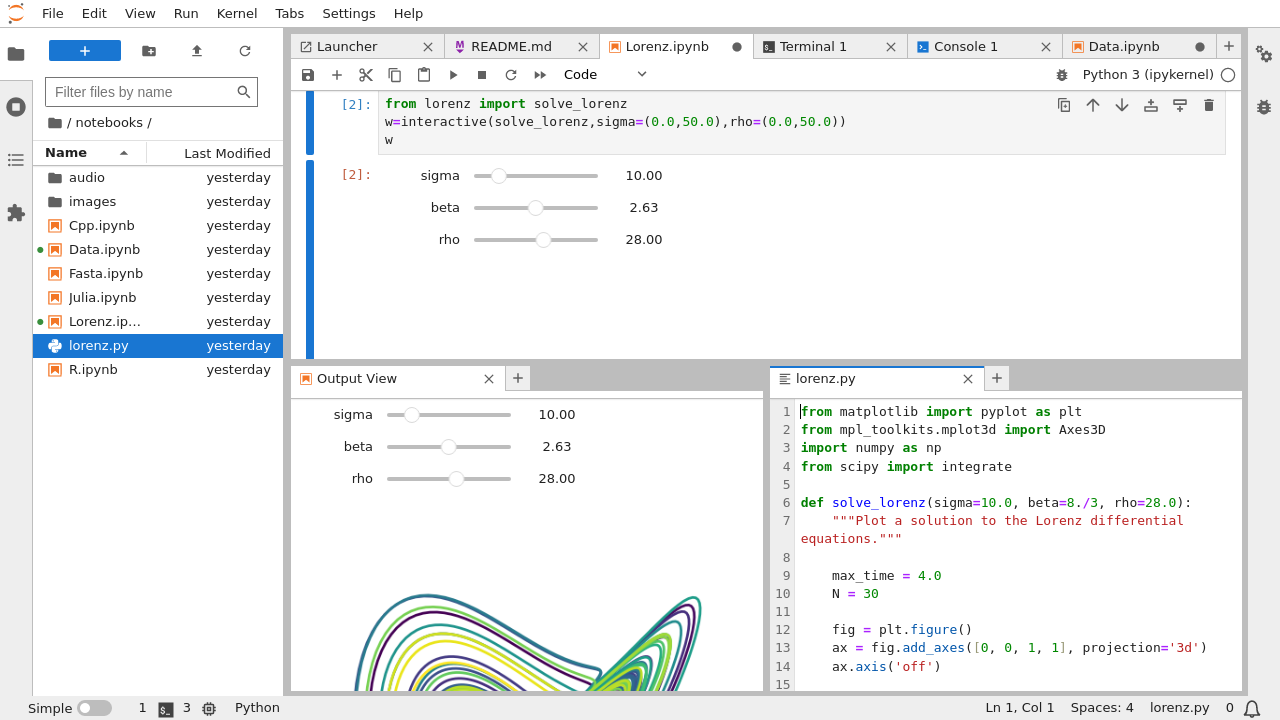
| User interface of Jupyter Lab, from https://jupyterlab.readthedocs.io |
Hi, in this post, I would like to share my working environment (Windows 10 with WSL2) and daily routine using Jupyter with conda and also setting those environments in a remote server.
Set Up Local Environment
Install WSL2 with Ubuntu
I’m used to using Windows PC (not a fan of mac), which is also the work laptop I got from the center. Unfortunately, it is impossible to do bioinformatics with Windows (I have horrible experience with dual booting and Linux VM). No worries there, Windows Subsystem for Linux (WSL) has been available for those who don’t want to part with Windows but would like to learn/develop using Linux.
So far, I don’t have any problem using WSL2 with Ubuntu-20.04 and using it for my daily routine. You can find WSL2 docs here and there are many blogs out there describing how to install it on your PC.
 |
|---|
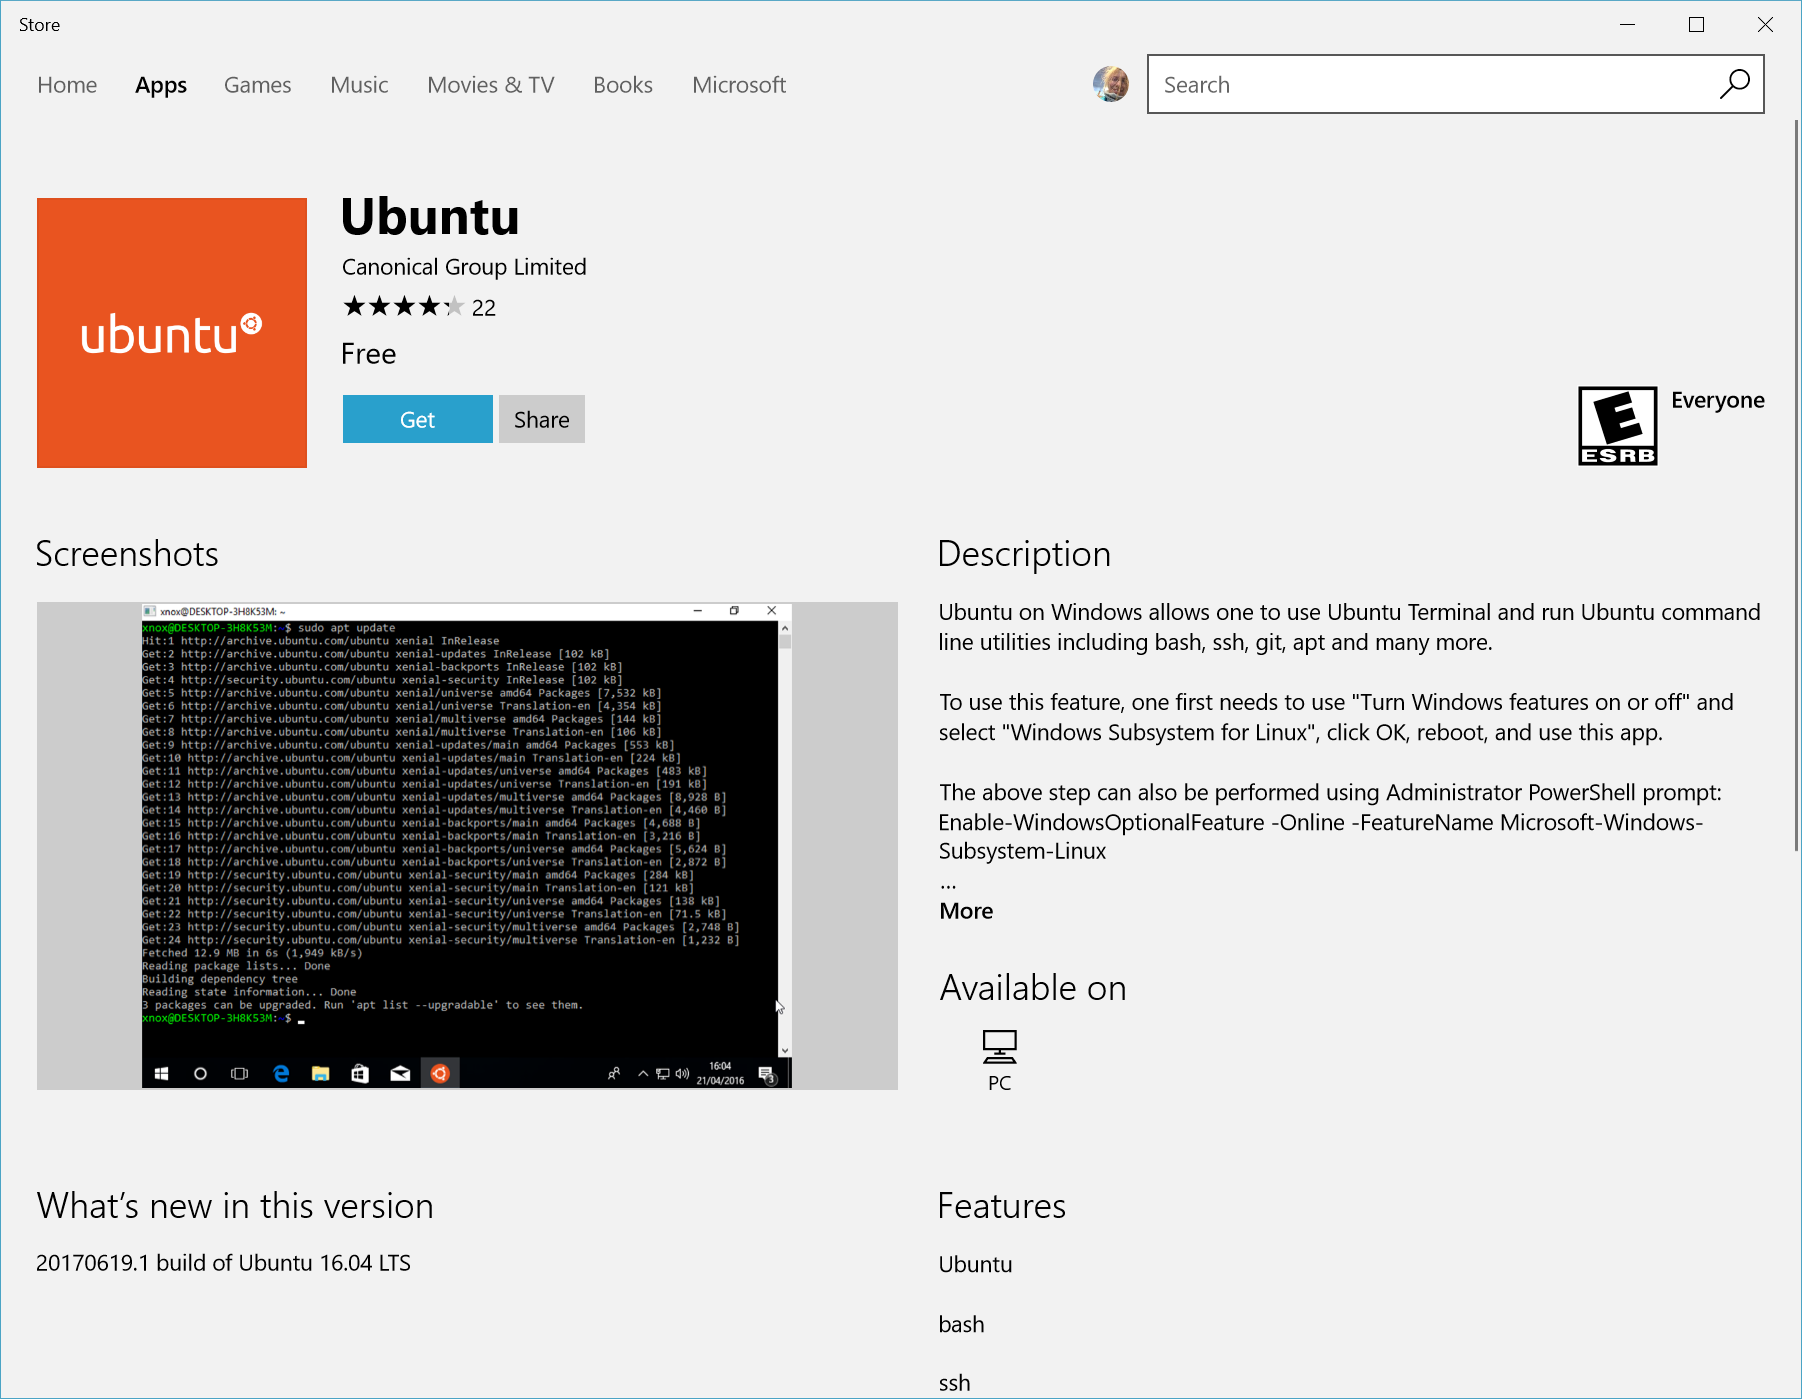
| Go get the latest Ubuntu Distribution for WSL2, from https://docs.microsoft.com/windows/wsl/install-win10 |
Install Conda
I don’t know what people say, but to me, conda is a friendly tool to manage Python and other packages for bioinformatics.
After finishing your WSL2 and Ubuntu installation, run the Ubuntu terminal and install Anaconda (or miniconda) following the docs here
Go to the Anaconda Distribution page to get the link for the latest version for Linux, download, and install:
wget https://repo.anaconda.com/archive/Anaconda3-2020.11-Linux-x86_64.sh
bash Anaconda3-2019.03-Linux-x86_64.sh
Create Conda Environment with Jupyter Lab
Always work in a separate environment! You don’t want to go into the nightmare of figuring out conflicted packages, so run your projects in a different environment. Learn more about conda environment here
To create environment:
conda create --name [your environment name]
There are many IDEs out there to try, but what I find it pretty easy as a beginner is to use Jupyter Lab. So, start by creating your project environment and install Jupyter Lab following this docs
Activate your environment and install jupyter lab:
conda activate [your environment name]
conda install -c conda-forge jupyterlab
Run Jupyter lab
Still in your environment, run Jupyter Lab by typing:
jupyter lab
You will get something like this:
http://localhost:8888/?token=6e62a781727536b7621e031c97924753fcd483fc0f06aaa0`
Copy-paste the link to your favourite browser (honestly, don’t use google chrome). You can also type localhost:8888 (or whichever port was chosen) in the browser, but it might ask you for the token (which is the characters after ?token=)
Set Up Jupyter Server for remote working
Access the server using SSH from WSL2
Sometimes (and more frequently), I need extra computational power to load those data (RAM) or crunch them using intensive algorithms (CPU/GPU). Fortunately, I have access to a workstation in the office with nice spec. You can also set up a cloud server in AWS, google cloud, Microsoft Azure, or other available platforms out there.
You can access this remote server (which often run in Ubuntu/Linux) by using SSH. You will need the IP address and your account (with maybe a password or key). In my case, I need a VPN connection to use SSH.
You can do this by running WSL2 and typing something like this:
ssh myaccount@12.34.5.67`
You need to change it with your [user account]@[IP Address], of course.
Create env with Jupyter Lab
If your remote server runs on Ubuntu/Linux, you can start by setting up a conda environment and installing Jupyter Lab similar to the steps above.
tmux for parallel access
As I want to leave the server running and don’t want to make the jupyter server terminate when losing connection, I use tmux (terminal multiplexer), which will run a parallel session in the server background (more like a multiple windows) when you close the ssh session. Read more about it in this nice blog
The command is:
tmux
Run jupyter server with tunnel
Still in the new tmux terminal, activate your environment, and run Jupyter lab:
conda activate [your environment]
jupyter lab --no-browser --port 8889
Here, we run jupyter lab server without a browser in port 8889. We can change the port as we like, but make sure it doesn’t conflict with other existing port. As we run it using tmux in a parallel session, we can close our ssh connection without terminating our server.
PS: “take note of the jupyter token, or maybe set up a password.”
SSH tunnel
To access our remote Jupyter server, we can initiate SSH session with a specific port (which is our remote server port).
Open a new WSL2/Ubuntu terminal and type something like this (note that it will access the server port 8889 and tunnel it to our local port 8889):
ssh -N -L 8889:localhost:8889 myaccount@12.34.5.67
Then, we can access Jupyter in our browser by accessing Localhost:8889 (use the same port of our server)
Something else to try
Jupyter is nice, but it might not be the best code editors out there. I’ve been trying atom hydrogen but to no success integrating with WSL2. Right now, I’m trying out Microsoft Visual Studio Code which works nicely with WSL2.
Small accident
So, in the center, we have this shared drive (called the O:Drive) where people can save their files. This drive was located in a different server (different machine) than the machine where I run my Jupyter server (Called the NBC-Shared). As the O:Drive is much more accessible to share with the rest of the group, I thought it would be fine if I run the script in NBC-shared and read/write the data in O:Drive. This is totally a mistake which caused my admin needed to restart the whole NBC-shared server! The problem caused by I/O error (as the script runs in a different physical machine than the harddrive), probably due to internet connection, and raised the issue called the Uninterruptible Sleep (D) State . This process cannot be “killed”, and in my case, the processes filled up all my resources causing me to freeze when I login using SSH. Thus, the only way to resolve this is to restart the machine.
Lesson learned, I’ll use the local storage of the server for future work.